Alright, let's build a shed! You're looking for a 10x12, and you're on a budget, huh? That's totally doable, my friend. We're gonna break this down step by step, and I'll be right here with you every inch of the way (pun intended, haha).
The Basics: Foundation & Framing
First, you've gotta decide on a foundation. Concrete is the most durable, but it's also the most expensive. A simple gravel base with pressure-treated lumber is a budget-friendly alternative. Just make sure you've got a good, level spot.
Now, let's talk about framing. You'll want to stick with standard 2x4s for the walls and 2x6s for the floor joists. A 10x12 shed is small enough that you can probably manage with just a few basic tools: a circular saw, drill, tape measure, and level.
Building the Floor
Let's get those floor joists laid down first. Measure and cut your 2x6s to the 12-foot length. Lay them down parallel to each other, spaced 16 inches apart. This will give you a strong, stable base. You'll want to use joist hangers to connect the joists to the foundation.
Then you'll need a plywood subfloor. A standard 4x8 sheet will fit perfectly on top of your joists. Just make sure you have enough plywood to cover the entire 10x12 space. Use screws to attach the plywood to the joists.
Let's Build Those Walls
Okay, onto the walls. Start by cutting the 2x4s to the height you want your shed to be. Make sure to cut a 2x4 to be 12 feet long and another to be 10 feet long for the top and bottom plates for the walls.
Next, you'll need to cut your wall studs. These will be the vertical pieces that hold up the walls. For a 10x12 shed, you'll need 10 studs that are 8 feet tall, spaced 16 inches apart. Remember to include headers over doors and windows.
Now, you're ready to assemble the walls. Lay the bottom plate on the ground, then stand the studs up, making sure they're spaced correctly. Attach the top plate to the studs, using screws or nails. Repeat this process for all four walls.
Raising the Walls
Now, the fun part â€" lifting those walls! Get some help from a friend or two, and carefully lift the walls into place on top of the floor. You'll want to make sure they're plumb and level before you start attaching them together.
The Roof
The roof is a bit trickier, but don't worry, you've got this! You'll need to decide on a roof style. A simple gable roof is the easiest to build. You'll need to cut rafter boards to the correct angle and length. Make sure to use a rafter table or calculator to get the measurements right.
Connect the rafters to the top plates of the walls using rafter hangers. Once the rafters are in place, you'll need to add a plywood roof sheathing. This will provide a solid base for the shingles.
Finishing Touches
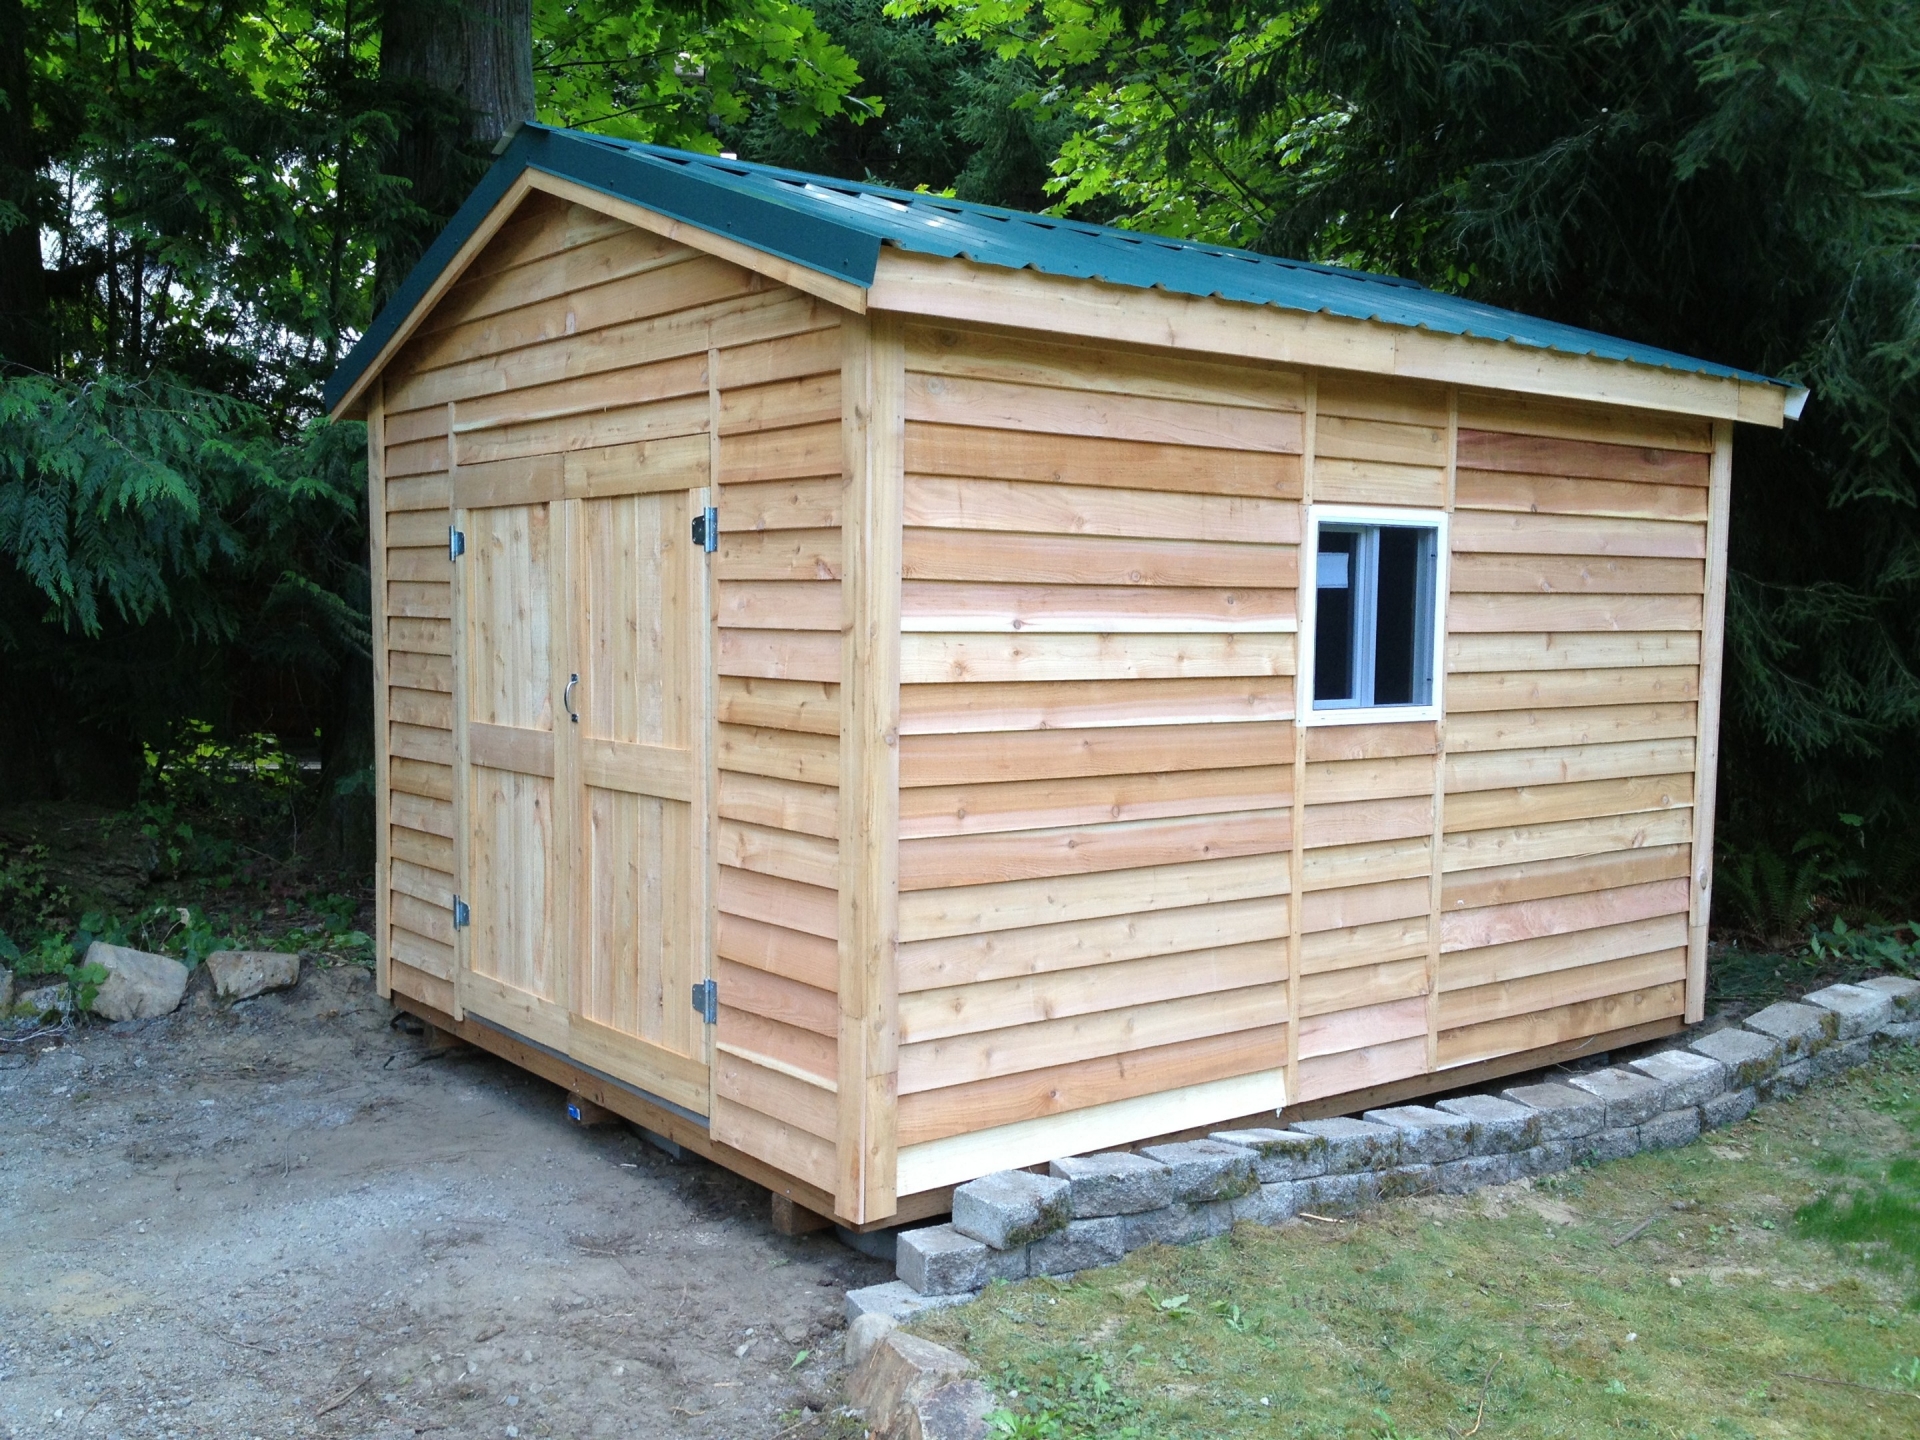
Now comes the part where you really start to see your shed take shape! You'll need to add siding, trim, and a door and windows. There are a ton of different options available, so choose what fits your budget and style.
The Power of DIY
Building a shed is a rewarding experience. It's not always easy, but it's definitely a fun and satisfying challenge. You'll learn new skills, and you'll end up with a structure you can be proud of.
Remember, take your time, follow the plans carefully, and don't be afraid to ask for help if you need it. You've got this!
Bonus Tips:
Don't skimp on the quality of your materials. It's worth investing a little extra to get a shed that will last.
Use pressure-treated lumber for the foundation and anything that will be in contact with the ground. This will help prevent rot and decay.
Make sure to seal all of the wood with a good quality paint or stain. This will protect the wood from the elements and give your shed a nice finish.
Ready to get started? You can find free shed plans online or purchase them from a home improvement store. Have fun building!
0 comments:
Post a Comment