Alright, folks, let's talk sheds! You know, those little havens of storage, workspace, or maybe even a cozy hangout for your furry friends. Building your own shed is a fantastic way to get some hands-on experience, save a few bucks, and create a space that's perfect for your needs.
And guess what? You don't need to break the bank to do it! We're talking affordable materials and DIY plans that are easier than you think. Trust me, with a little elbow grease and some guidance, you can have a sturdy, beautiful shed in your backyard in no time.
Let's Get Down to the Basics:
First things first, let's lay out our plan. We're aiming for a 10x12 shed, a good size for most needs. We'll build it with a simple gable roof, which is both affordable and easy to construct.
Materials, Materials, Materials:
Now, the fun part - picking out the materials! Here's a breakdown of what you'll need, focusing on affordability:
Framing Lumber:
Pressure-Treated 4x4s: For the foundation posts, get yourself some pressure-treated 4x4s. This stuff resists rot and bugs, essential for those bottom beams. You'll need around eight of them, depending on your local building code requirements for post spacing.
2x4s: The workhorses of your shed! You'll need a good pile of these for the walls, roof, and floor joists. Consider purchasing these in bundles, usually around 16 feet long, and make sure they're straight and sound.
2x6s: These will come in handy for the floor joists, adding extra strength and preventing sagging over time.
Plywood:
Sheathing Plywood: This plywood will form the skin of your walls and roof. Go for a ¾ inch thickness for strength. You can usually find this at a decent price, especially if you shop around a bit.
Underlayment Plywood: For the floor, use ¾ inch underlayment plywood. This will provide a solid surface for your flooring.
Roofing:
Shingles: You've got a lot of options here. Asphalt shingles are often the most budget-friendly, while metal roofing can be a bit pricier but offers longer lifespan and fire resistance. Do your research and pick what suits your budget and aesthetic.
Underlayment: This goes under the shingles and acts as a secondary barrier against leaks.
Roofing Felt: A cost-effective alternative to underlayment, although it might require a bit more work.
Siding:
Vinyl Siding: A popular and affordable choice for sheds. It's easy to install and comes in various colors and textures.
T1-11 Siding: This wood-based siding is durable and offers a classic look. You'll need to paint it to protect it from the elements.
Doors and Windows:
Single Door: Choose a pre-hung door that's the right size for your shed opening.
Windows: You can get away with basic, inexpensive windows. If you're feeling fancy, you can add a small window or two to brighten up the interior.
Hardware:
Fasteners: This is a crucial one! Stock up on screws, nails, and other fasteners in various sizes.
Hinges: You'll need hinges for your door.
Door Handle and Lock: Get yourself a simple, sturdy handle and lock to keep your shed secure.
Flooring:
Concrete: This is the most durable option and requires minimal upkeep, although it can be a bit pricier.
Wood Flooring: A classic choice that's warm and inviting. Use treated lumber or a moisture-resistant flooring option for sheds.
Composite Flooring: A good balance of durability and affordability, with a variety of styles to choose from.
Paint or Stain:
Exterior Paint: You'll need paint for your siding, trim, and any other exposed wood. Choose a quality paint that will withstand the elements.
Interior Paint: If you plan on finishing the interior, get some interior paint to brighten things up.
DIY Shed Plans:
Okay, now that we've got our shopping list, let's talk plans! You can find free plans online, or purchase affordable plans from a variety of sources.
Here's what you need to keep in mind when choosing a plan:
Foundation: Some plans call for a simple concrete slab, while others suggest a more traditional pier foundation. Choose a foundation that's appropriate for your soil conditions and local building codes.
Wall Construction: Most plans use traditional stud framing with 2x4s. Be sure to understand how the walls are constructed and how to properly attach them to the foundation.
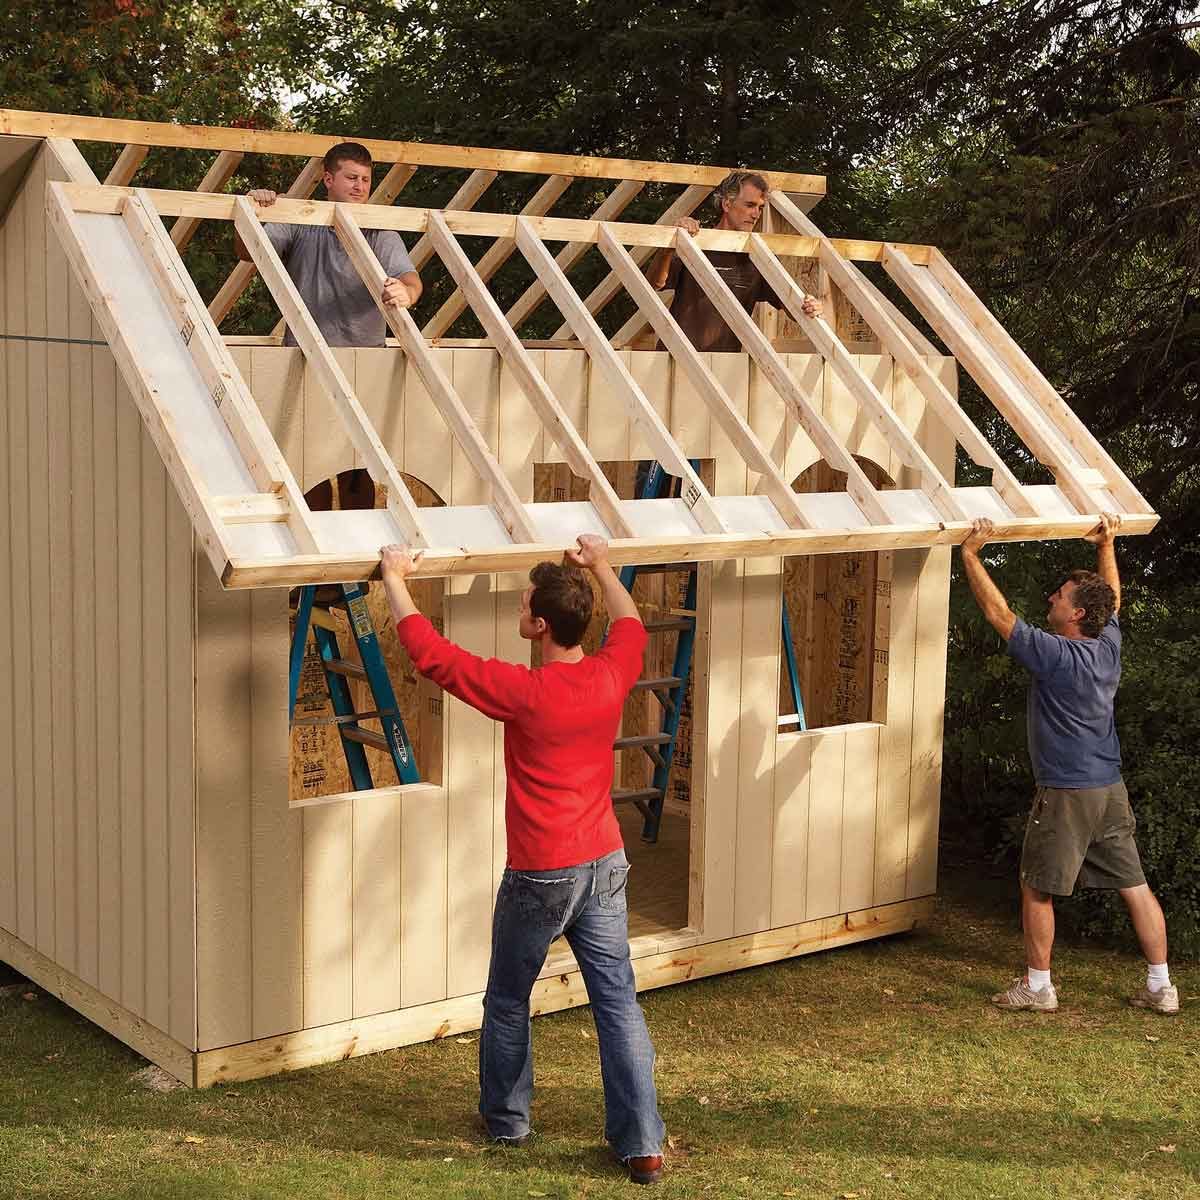
Roof Framing: This section of the plan will show you how to build the rafters, roof sheathing, and truss system.
Siding and Roofing: The plans will outline the proper way to install siding and roofing materials.
Let's Build!
Ready to get your hands dirty?
1. Prepare the Site: Clear the area where your shed will be located and level the ground.
2. Build the Foundation: Follow your plans carefully and set the foundation posts.
3. Framing the Walls: Cut and assemble the wall studs, ensuring they are plumb and square.
4. Roof Framing: Construct the rafters, roof sheathing, and trusses as outlined in your plans.
5. Sheathing the Walls and Roof: Attach the sheathing plywood to the walls and roof framing.
6. Install the Doors and Windows: Cut openings and install your pre-hung doors and windows.
7. Install the Siding: Secure the siding to the walls, following the manufacturer's instructions.
8. Install the Roof: Lay down the roofing underlayment and install the shingles.
9. Finish the Interior: Install your chosen flooring, paint the interior, and add any necessary finishing touches.
Tips for Success:
Measure Twice, Cut Once: Accuracy is key! Take your time measuring and cutting lumber to ensure everything fits together properly.
Use a Level: A level is essential for ensuring straight walls and floors.
Don't Be Afraid to Ask for Help: If you're unsure about something, don't hesitate to ask a friend or a more experienced DIYer for assistance.
Safety First: Always wear safety glasses, gloves, and other protective gear when working with tools and power equipment.
Beyond the Basics:
Once your shed is built, the fun part begins! Here are some ideas for customizing your new space:
Lighting: Add some LED lights to make the interior brighter and more functional.
Shelves and Storage: Get creative with shelves, cabinets, and storage solutions to maximize your space.
Workbenches: Build a sturdy workbench for your projects or create a dedicated crafting space.
Electrical Outlets: If you plan to use power tools in your shed, install electrical outlets and make sure they're properly wired by a qualified electrician.
And there you have it! Building a shed doesn't have to be a daunting task. With some planning, careful execution, and a dose of enthusiasm, you can create a valuable addition to your backyard that will serve you well for years to come.
0 comments:
Post a Comment